Introduction
This tutorial is based on the Windows operating system, and all commands are executed in PowerShell, not the CMD window.
Upgrading PowerShell
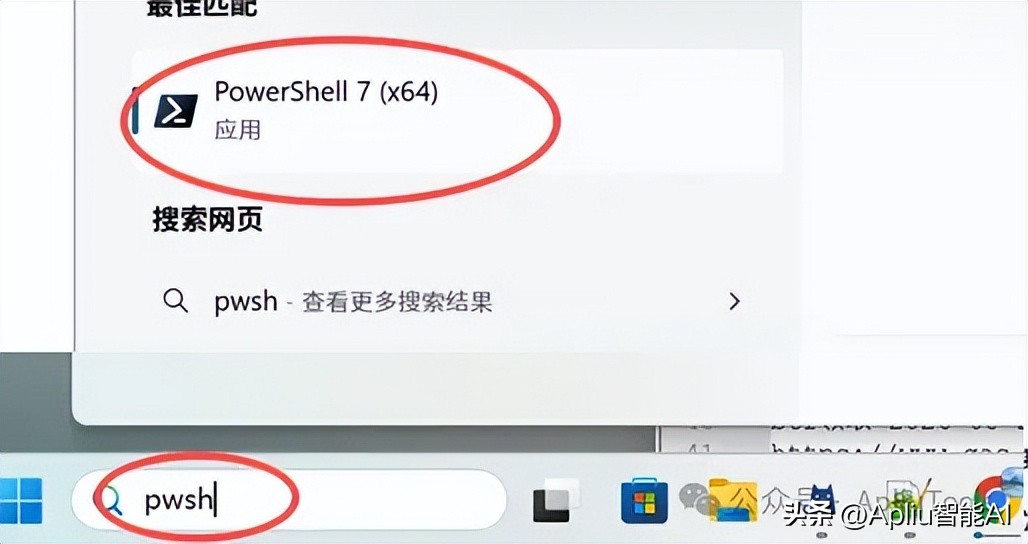
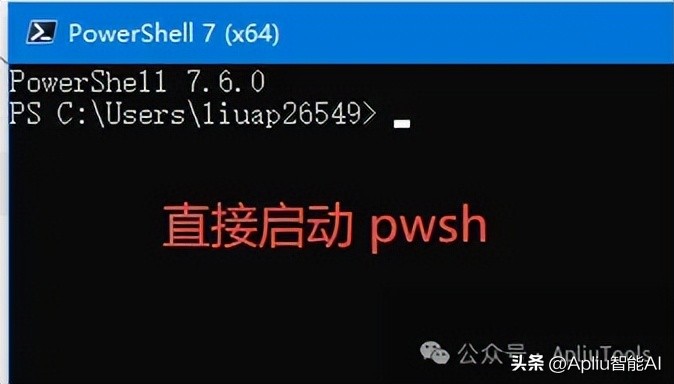
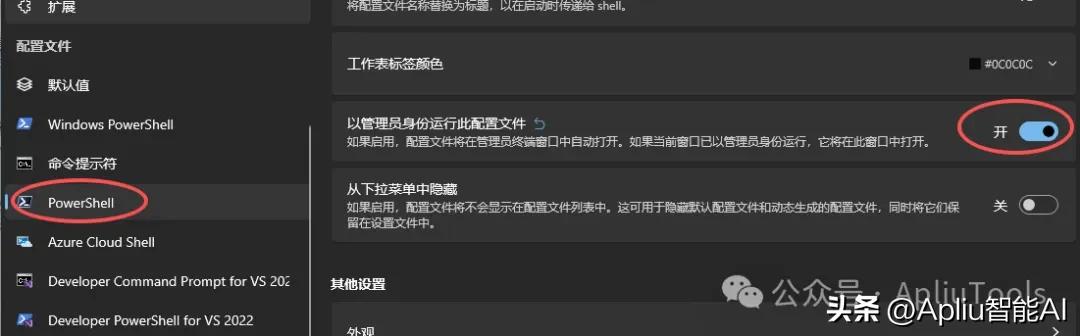
Install PowerShell version 7.x, as the default version in Windows 10 is 5.x, which has significant differences in command types and autocompletion. It is recommended to upgrade (the new version runs as pwsh).
set-ExecutionPolicy RemoteSigned  # Allow script execution (select A for all)
$PSVersionTable  # Check current version
winget install --id Microsoft.PowerShell --source winget  # Install PowerShell 7.x
If the installation fails or is ineffective, you can manually download and install it:
https://github.com/PowerShell/PowerShell/releases/download/v7.6.0/PowerShell-7.6.0-win-x64.msi

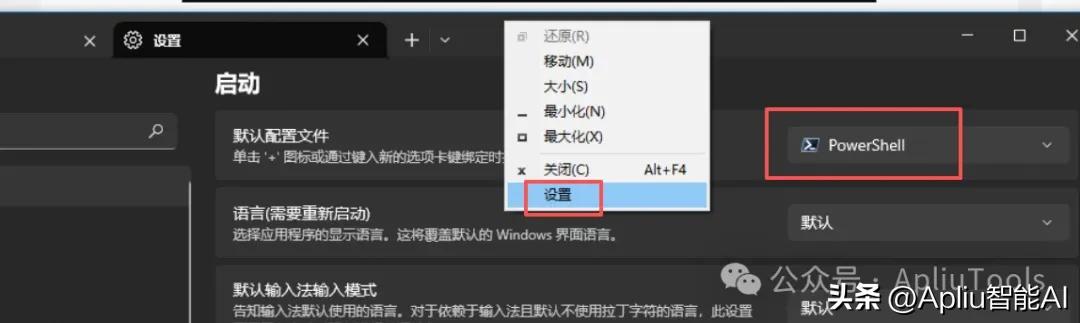
Installing Windows Terminal
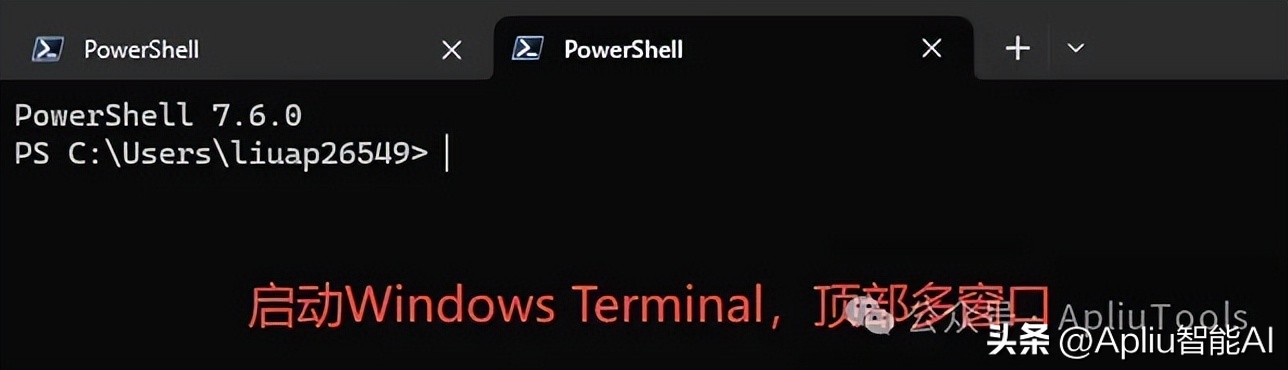
Windows 11 comes with a built-in multi-window effect, but after installing this tool on Windows 10, it will also have the multi-window effect, making it more convenient to use.
winget install --id=Microsoft.WindowsTerminal -e
If installation fails, you can manually download it from:
https://github.com/microsoft/terminal/releases
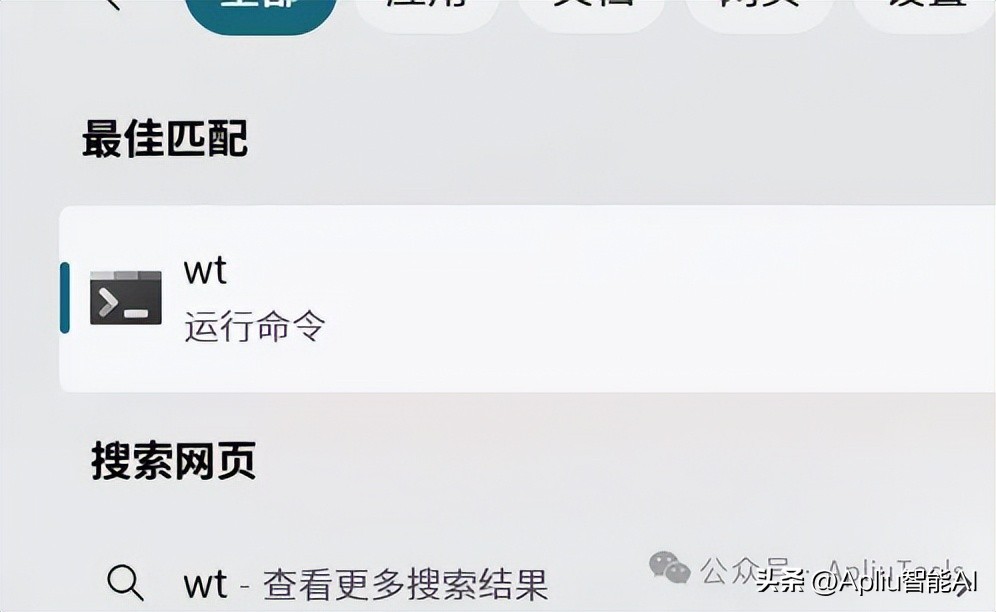
Download the latest version (zip file), and after installation, you can directly search for wt to start it. If you downloaded the zip file manually, extract it and run WindowsTerminal.exe (you can create a shortcut for quick access).
Installing NodeJS
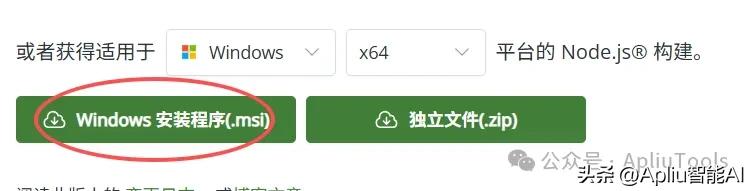
Many subsequent installation commands and environment operations depend on NodeJS, making it a necessary system dependency. Download it from:
https://nodejs.org/en/download.
Scroll down the page to find the “Windows Installer (.msi)”. This installation package does not require manual addition of environment variables, making it more convenient. After downloading, double-click to install, and you can then use the node, npm, and npx commands.
node -v  # Verify Node.js version
npm -v   # Verify npm version
npx -v   # Verify npx version
Installing Codex
Desktop Version
Visit the official website to download the installation package and double-click to install (proxy required):
Optional: If you do not have a proxy, you can install it from the Microsoft Store by searching for Codex.

Command Line CLI Version
Install via npm package manager (requires NodeJS environment) without needing a proxy:
npm install -g @openai/codex    # Install Codex
npm update -g @openai/codex      # Update Codex
First Use
For the desktop version, simply launch the program to use it normally. For the command line CLI version, enter codex to start using it. You can then interact using natural language.

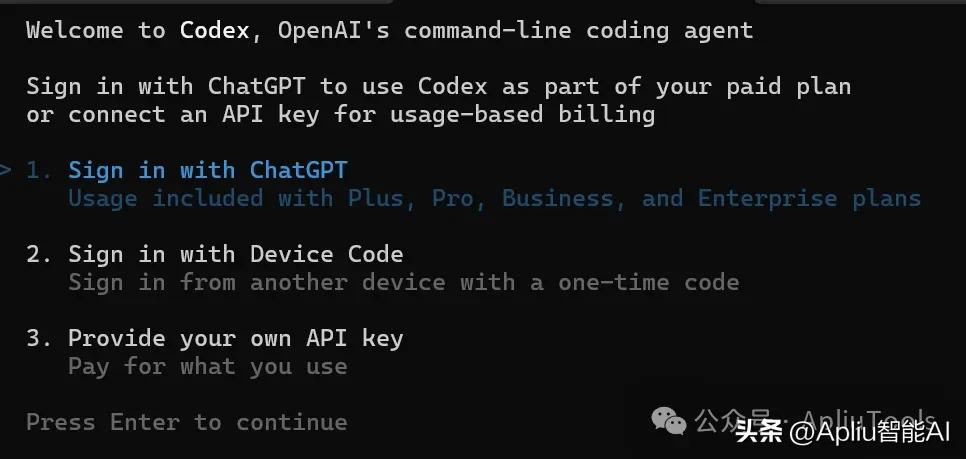
Upon first use, you will be prompted to choose a login method:
- Official subscription;
- Temporary login for official subscription;
- Official API KEY.
If using an official subscription or API KEY, select the corresponding option to proceed. If using a third-party API, you can exit and proceed to the next section for configuration.
Third-Party API Configuration
To supplement basic knowledge, the protocols supported by models on the market are mainly divided into two camps:
- OpenAI (Chat Completions / Response) Protocol: Represented by GPT, with Codex and Gemini supporting this protocol. To use the Claude model, you need to go through a proxy.
- Anthropic (Messages API) Protocol: Represented by Claude, which supports this protocol. To use the GPT model, you also need to go through a proxy.
The configuration directories for the three major AI programming CLIs, Claude, Codex, and Gemini, are located in the current user directory. You can access it via cd ~/ in both Linux and Windows. The ~/ character in all subsequent paths refers to the current user directory.
- Windows: C:\Users\apliu (where ‘apliu’ is the system username);
- Linux: /home/ubuntu (where ‘ubuntu’ is the system username);
Codex mainly involves the ~/.codex/ folder, with the following directory structure (initially it may not have many files, but they will be generated over time):
● .codex
 ├─ .sandbox/                # Sandbox related directory
 ├─ .sandbox-bin/            # Executable files or auxiliary tools directory
 ├─ .sandbox-secrets/        # Sensitive information/secrets directory for sandbox
 ├─ .tmp/                    # Hidden temporary directory
 ├─ log/                     # Log directory
 ├─ memories/                # Memory data directory
 ├─ rules/                   # Rules configuration directory
 ├─ sessions/                # Session data directory
 ├─ skills/                  # Skills/extensions directory
 ├─ sqlite/                  # SQLite related data directory
 ├─ tmp/                     # Temporary files directory
 ├─ vendor_imports/          # External import resources directory
 ├─ .codex-global-state.json  # Codex global state file
 ├─ .personality_migration    # Personality/config migration marker file
 ├─ AGENTS.md                # Agent behavior description file
 ├─ auth.json                # Authentication information configuration file
 ├─ cap_sid                  # Session or capability identifier file
 ├─ config.toml              # Main configuration file
 ├─ history.jsonl            # History record file
 ├─ logs_1.sqlite            # Log database
 ├─ logs_1.sqlite-shm        # SQLite shared memory file
 ├─ logs_1.sqlite-wal        # SQLite WAL log file
 ├─ models_cache.json        # Model cache information file
 ├─ sandbox.log              # Sandbox runtime log
 ├─ state_5.sqlite           # State database
 ├─ state_5.sqlite-shm       # SQLite shared memory file
 ├─ state_5.sqlite-wal       # SQLite WAL log file
 └─ version.json             # Version information file
Although there are many directories, for our configuration, we only need to focus on the ~/.codex/config.toml and ~/.codex/auth.json files. The config.toml file should configure base_url (API call URL), and the auth.json file should configure the api_key (API authentication KEY). To use a third-party API, you only need to obtain these two parameters.
The base_url of Codex usually contains /v1, and do not include a trailing /.
The format of the config.toml file is as follows:
model_provider = "customapi"
model = "gpt-5.4"
model_reasoning_effort = "medium"

[model_providers.customapi]
name = "customapi"
base_url = "https://api.xxxxxx.com/v1"
wire_api = "responses"
The format of the auth.json file is as follows:
{
  "OPENAI_API_KEY": "sk-xxxxxxxxxxxxxxxxxxx"
}
Reference Materials
Official documentation (requires a proxy to access):
Comments
Discussion is powered by Giscus (GitHub Discussions). Add
repo,repoID,category, andcategoryIDunder[params.comments.giscus]inhugo.tomlusing the values from the Giscus setup tool.